The Pool Boys Blog
pool maintenance and repair news and advice
-
The Pool Boys Hurricane Recovery Efforts
We hope this message finds you and your family safe after Hurricane Beryl. The Pool Boys are working today, Tuesday, July 9, 2024.
-
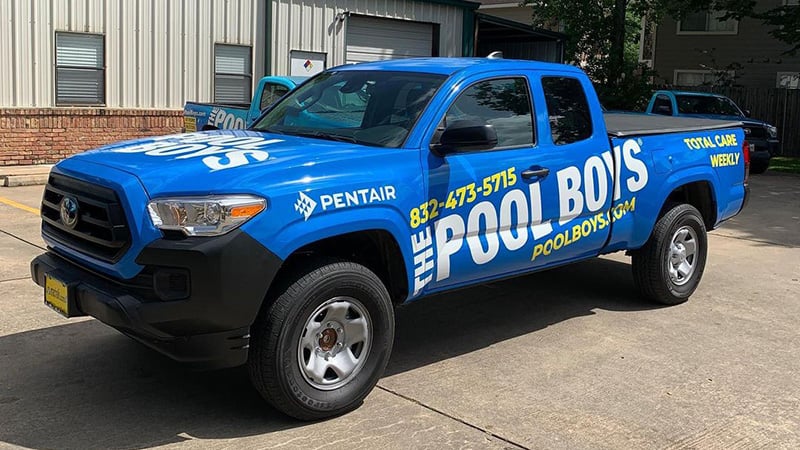
The Pool Boys Expand Weekly Pool Service to Pearland
The Pool Boys has continued to grow our Total Care Weekly Pool Maintenance Service to 6 full time routes in League City, Clear Lake, Friendswood, Kemah and Seabrook over the last 5 years. We love our Customers, and will continue to provide the same great service going forward. As we move into 2024, we’re adding…
-
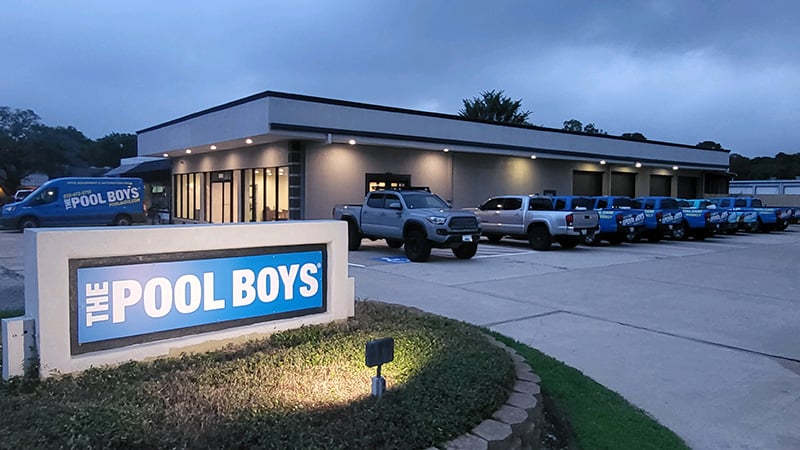
The Pool Boys New Location in League City for 2023
The Pool Boys have moved to 382 W Main St., League City, TX 77573. You can still reach us at 832-473-5715. That’s right, we’ve moved to a new larger location with updated offices, a much larger parking lot to fit all of our staff and service vehicles, as well as additional inside and outside storage…
-

When to Upgrade Your Pool Equipment
The Pool Boys know that purchasing new pool equipment can be a daunting task. You are going to be spending some money and want to make sure that you make the best choice for your pool and the people that swim in it… your Friends and Family. And then there’s always that pesky budget to…
-
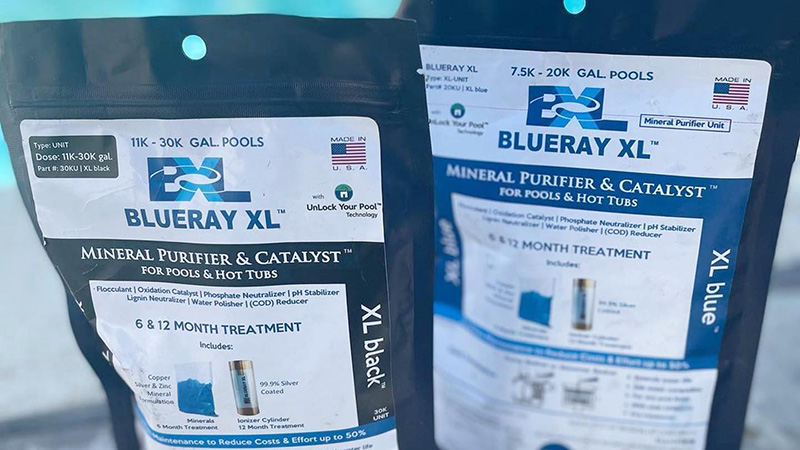
Mineral Based Pool Sanitizers
At The Pool Boys, we are always looking for ways to improve our process of keeping pools clean. Whether it’s finding a better tool or learning a new procedure, we are constantly testing new ways to bring more value to our customers.
-
Improving Our Pool Service Standards
The Pool Boys are continuously improving our process and services through ongoing training and support. This past fall, 7 members of our team recently attended training and became Pool Chemistry Certified – Residential (PCC-R) by the Pool Chemistry Training Institute.
-

Pool Automation and Control
It’s amazing to see how far Technology has come today. It’s even more amazing to imagine where it will be in the next 10 years. Before too long, we will be controlling our swimming pools by transmitting our thoughts through the air… ok maybe not quite yet… but that would be pretty cool.
-
Introducing the On Point Checkup Pool Equipment Inspection
Most of the time, your pool equipment is the last thing you think about during the day. However, there may come a time that the pool isn’t responding to chemicals, or the pool pump may start to make noise. That’s when you need a professional. The On Point Checkup Pool Equipment Inspection is designed to…
-

Top 5 Benefits of A Variable Speed Pool Pump
It’s easy to shy away from a Variable Speed Pool Pump at first glance of the price tag, but you might be surprised by what they have to offer. Here’s what we consider to be the top 5 benefits of a Variable Speed Pool Pump. Energy Savings = $$ in your wallet Better Filtration =…
-
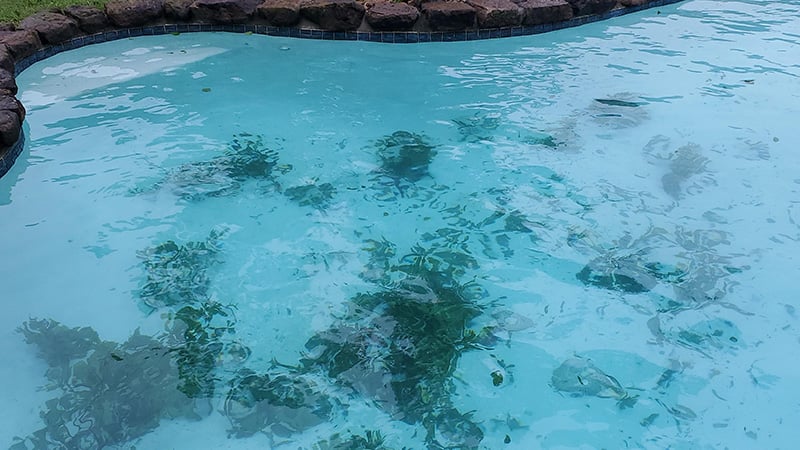
Maintaining Your Pool Before and After a Storm
Living in the Gulf Coast region brings about some challenges for swimming pool owners in regard to weather. Not only do we get frequent storms dipping down from the north, bringing tornadoes in the summer and freezing temperatures in the winter across this part of Texas. But more importantly, we are a prime target for…
-
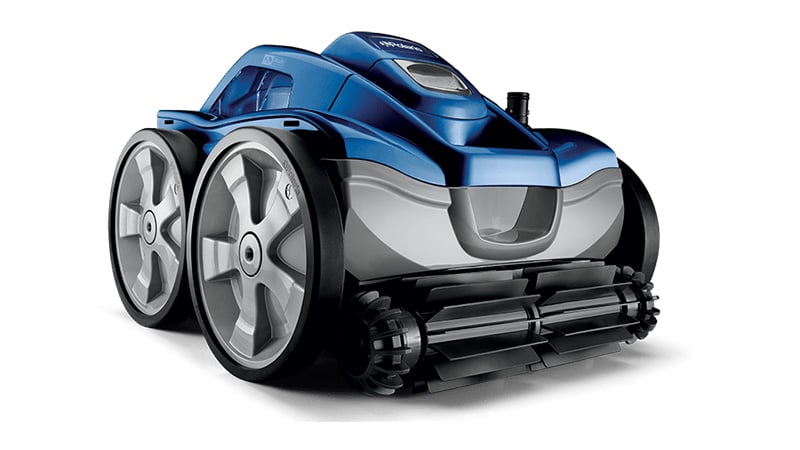
Automatic Pool Cleaners: Suction vs. Pressure vs. Robotic
Owning a pool comes with several responsibilities, and many pool owners have a lot of questions in the beginning. From everything to do with water balance and chemicals, to which maintenance products to use. However, there is one question that almost every customer asks.
-
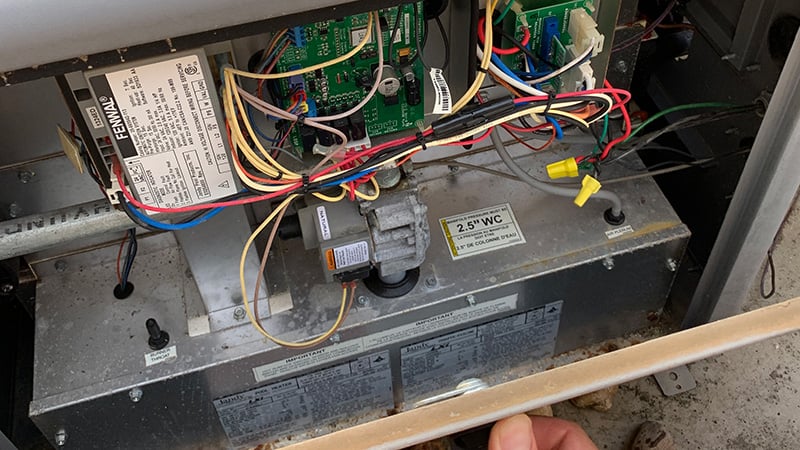
Is It Time For a Pool Heater Checkup?
As summer comes to an end, heater season is fast approaching, have you tested your pool heater lately? Let’s play out a common scenario that we see every year. The party is tomorrow but it’s gonna be a little cooler. Just fire up the pool heater early in the morning to heat the pool right?…
Google Reviews


We are so pleased with our service and repairs from Pool Boys. They are very professional and prompt.

Had a heater problem and Justin quickly diagnosed and had it up and running in no time.


Very polite very efficient and very prompt

My pool never looked so good. Very reliable service, that’s quick, efficient, and dependable week after week. The current tech Brandon is really great.


Pool boys are always on time, competent & efficient. Thank you. Great job.

I needed to discuss options to repair a component to my pool equipment. Jennifer came out first thing this morning to listen to my concerns and give me expert advice about how to remedy the situation with many options. She took photos and sent them to me as well as referrals to trustworthy companies who could address the issue and solve it, Thank you you, Jennifer, for your time and wisdom on how to get the issue resolved! I know how to proceed forward now. And service with confidence and a smile! The Pool Boys are an awesome company to work with, and I’m thankful that they take care of my pool cleaning needs every week. Five Star Company!

Great job cleaning pool.


Nick with Pool Boys is awesome! He does an outstanding job with my pool maintenance. Every time!

Nick always does a great job

I’ve been using Pool Boys for years and they always do a great jobs. Justin is always on time and gets the repairs done quickly.

Thanks Trevor. You always do a great job.

Professional, knowledgeable, thorough and fair price. Arrived equipped to troubleshoot avoiding delay and additional costs.

Justin has excellent knowledge and experience. He answers questions in detail for you to fully understand.

Alex did a great job!!

We depend on The Pool Boys to maintain our pool. They’re reliable and easy to work with. Trevor and the rest of the crew do a great job!

The Pool Boys’ Trevor is the best pool keeper I have had. He is so thorough and my pool sparkles! Thanks, Trevor.


Nick K. is always professional and polite. He keeps our pool pristine and ready for use at all times, keeping the pool clean and chemicals balanced.

Trevor always does a good job. I am completely happy

Very knowledgeable Timely Solved the issue Thanks Justin